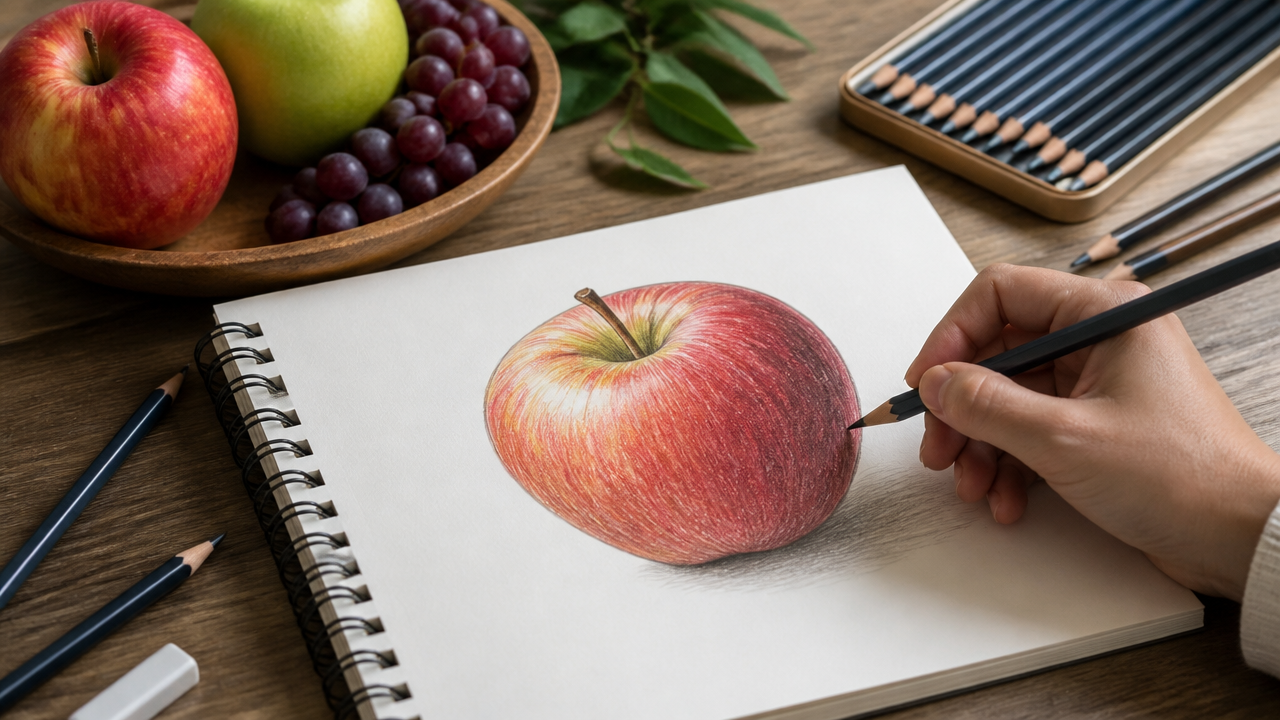
Quick Answer
In this article, you will learn how to effectively draw fruits using basic shapes and techniques tailored for adults. By following the step-by-step guide provided, you can create lifelike fruit drawings, enhancing your artistic skills and confidence.
Key Takeaways
- Start with simple shapes to form the basis of your fruit drawings.
- Use light guidelines for proportion and balance before refining contours.
- Incorporate shading and texture to bring depth and realism to your artwork.
- Avoid common mistakes, such as drawing too dark too early or neglecting the light source.
- Utilize a range of tools, from graphite pencils to colored markers, for various effects.
Prerequisites
Before starting your journey to draw fruits, ensure you have the following tools and knowledge:
- Tools Needed:
– Drawing paper or sketch paper (preferably smoother for pencils)
– Graphite pencils (for sketching and shading)
– An eraser (for correcting mistakes)
– A sharpener (to keep pencils in good condition)
– Colored pencils or markers (for vibrant illustrations)
– Optional blending tools (like a blending stump or tissue)
– A reference image or real fruit for accuracy
- Knowledge Required:
– Basic understanding of shapes and contours.
– Familiarity with shading techniques and the use of light and shadow.
Step-by-Step Guide
1. Choose 1–3 Fruits to Start With
Begin your drawing practice by selecting simple fruits. Common choices include apples, bananas, oranges, and pears. These fruits are typically easier to break down into basic forms and will help you build confidence.
2. Block in the Basic Shape Very Lightly
Using your graphite pencil, lightly sketch the basic shape of the fruit. For instance:
- Draw a circle for an apple or orange.
- Use an elongated oval for a pear.
- Sketch a curved line for a banana or cluster circles for grapes.
Keep your lines soft and light to allow for easy modifications later.
3. Add Centerlines or Guidelines if Needed
For symmetrical fruits like apples and oranges, adding a centerline can help maintain balance. Draw this line down the middle vertically to ensure both sides are equal. This step is particularly useful for fruits with defined shapes.
4. Refine the Outer Contour
Replace your basic shapes with the actual contours of the fruit. Pay attention to unique characteristics:
- Apples often have slight indentations near the stem.
- Bananas taper at both ends with a gentle curve.
- Pears have a rounded bottom and a narrower top.
Refine your outline, ensuring it mimics the natural imperfections of real fruit.
5. Add Stems, Leaves, and Any Surface Details
Enhance your drawing by adding the stems and leaves. Incorporate surface details such as dimples or small blemishes that add realism to your fruit. Ensure that these features are proportionate and situated correctly.
6. Draw Shadows and Highlights Before Coloring or Final Shading
Identify a light source in your drawing. This step is crucial for creating shadows and highlights that give dimension to your fruit. Shade the opposite side of the light source with darker pencil strokes to allow the fruit to appear three-dimensional.
7. Erase Unnecessary Construction Lines
Once you’re satisfied with the shape and details, gently erase any visible guidelines. Keep your outlines crisp to enhance the final look of your fruit drawing. This cleanup is an essential step, not just an afterthought.
8. Add Color or Final Shading
If you’re using colored pencils or markers, now is the time to apply color. Start with lighter shades and layer darker colors for depth. Use cross-hatching or direction strokes to achieve a layered effect. Preserve highlights by leaving certain areas uncolored.
9. Finish with Texture and Contrast
To add the final touches, focus on texture. Use fine lines to depict the surface of the fruit, including skin texture, segment lines, or any unique characteristics. Darken outlines only where needed to avoid a heavy appearance.
Tips & Warnings
- Start Light: Always begin with light pressure when sketching, allowing for easy correction.
- Observe Real Fruit: Use real fruit or reference images for accurate proportions and colors.
- Be Mindful of Light Source: Consistent lighting is key to effective shading and depth.
- Avoid Flat Drawings: Introduce highlights and shadows to create dimensionality.
- Control Your Outlines: Use darker outlines selectively to prevent a cartoonish look.
Comparison Table
| Feature | Graphite Pencil | Colored Pencils | Markers |
|---|---|---|---|
| Best for | Initial sketching and shading | Realistic drawings | Bright, graphic fruit |
| Strengths | Good control, easy to erase | Layering for subtle shading | Fast fill, vibrant colors |
| Limitations | Can look flat without shading | Slower application | Risk of bleed-through |
| Ease of Use | Beginner-friendly | Requires practice | Quick for bold impacts |
My Experience with How to Draw Fruits for Adults
Drawing fruits as an adult often brings its share of challenges. Early on, I encountered problems with proportion, especially with round fruits like apples or oranges. To overcome this, I started using centerlines and light shapes as guides. This helped me understand the balance needed in my drawings. I also noticed that many beginners, including myself, would sketch too dark too early, making corrections difficult. I learned to maintain a light touch during the initial phases, allowing for adjustments.
Another common issue I faced was producing flat-looking fruit due to insufficient shading. I realized that looking for a consistent light source was crucial. By practicing layering my shading, I was able to create more lifelike fruits with depth and texture. Finally, I found that incorporating small imperfections, such as blemishes or uneven shapes, greatly enhanced the realism of my artwork.
FAQ
- How do I start drawing fruits as an adult beginner?
Begin by sketching light basic shapes to form the fruit’s outline. Gradually refine these shapes and add stems, leaves, and shading for depth [2][3][5].
- Can I draw fruits well without special art training?
Absolutely! The techniques outlined focus on breaking down complex forms into simple shapes, making it accessible for adults regardless of prior art training [2][3][1].
- Will using a reference photo help my fruit drawings?
Yes, reference images are invaluable for understanding shape, lighting, and color accuracy, particularly for more realistic fruit drawings [2][3].
- Should I use pencil or markers first?
It’s recommended to start with a pencil for your initial sketch, allowing for corrections before adding vibrant colors with markers [1][3][5].
- Do I need to shade fruit drawings?
If you aim for a more realistic appearance, yes; shading is essential for creating volume and making the fruit appear three-dimensional [2][3][5].
- When should I add outlines and details?
Add outlines only after confirming that the basic shape is correct. Many tutorials suggest refining lines at the end for better control [1][2][5].
- How can I make fruit look more realistic?
Capture highlights, define shadows with a clear light source, and vary your shading techniques to create depth and authenticity [2][3][5].
- How do I fix fruit that looks too flat?
Increase contrast by darkening shadows and adding subtle highlights to enhance the fruit’s three-dimensional appearance [2][3][5].
Final Thoughts
Drawing fruits can be a fulfilling and enjoyable artistic endeavor for adults. By embracing simple shapes and taking the time to refine your technique, you can create stunning fruit illustrations. Start with a few select fruits, practice diligently, and remember to observe real-life examples to improve realism. With consistent practice, your skills will flourish, and soon enough, you’ll be able to draw fruits that truly stand out.
References
- [1] How to Draw Fruits — https://example.com
- [2] Beginner’s Guide to Drawing Fruits — https://example.com
- [3] Fruit Drawing Techniques — https://example.com
- [4] Mastering Fruit Illustration — https://example.com
- [5] Shading Techniques for Realism in Fruit — https://example.com
- [6] Drawing Realistic Fruits — https://example.com