I’ve been sewing for over a decade, and if there’s one project that never fails to bring me joy and satisfaction, it’s making fabric coasters. There’s something incredibly rewarding about creating beautiful, functional pieces in just a few minutes that will protect my furniture while adding personality to my home. Over the years, I’ve probably made hundreds of coasters – for my own home, as gifts, and even to sell at craft fairs.
What started as a simple need to protect my coffee table has evolved into one of my favorite quick-sewing projects. I love how coasters allow me to experiment with new techniques, use up fabric scraps, and create coordinated sets that tie together my home’s decor. Whether I have fifteen minutes or an entire afternoon, coaster projects fit perfectly into any schedule.
The beauty of sewing your own fabric coasters lies in the endless possibilities for customization. While store-bought coasters are limited to whatever designs manufacturers think will appeal to the masses, handmade coasters can reflect your personal style, match your exact color scheme, or feature fabrics that hold special meaning. I’ve made coasters from vintage tablecloths inherited from my grandmother, fabric from my children’s outgrown clothes, and beautiful remnants found at fabric sales.
Beyond the creative satisfaction, homemade fabric coasters are incredibly practical. They’re washable, unlike many commercial options, which means they can actually do their job of protecting surfaces without becoming permanently stained or damaged. I can throw them in the washing machine when they get dirty and they come out looking fresh and new.
The cost savings are remarkable too. A set of quality coasters in stores can cost $20-40, while I can make beautiful, custom sets for under $5 in materials. This makes them perfect for gift-giving – I can create personalized sets for friends and family without breaking my budget.
Materials You Will Need
Over the years, I’ve streamlined my coaster-making supplies to include essential items that work for multiple projects. Having these materials on hand means I can whip up a set of coasters whenever inspiration strikes or when I need a quick gift.
For fabric, I prefer 100% cotton because it’s durable, easy to work with, and holds up well to washing. Medium-weight cotton works best – quilting cotton is perfect, but home decor fabrics also work beautifully. I keep a collection of fabric scraps specifically for coaster projects, including coordinating prints and solids that can be mixed and matched.
Interfacing is crucial for giving coasters structure and stability. I use medium-weight fusible interfacing for most projects, though I sometimes experiment with batting for a softer, more quilted feel. Cork sheets are wonderful for adding grip and moisture protection – I buy them in large sheets from craft stores and cut them to size.
Thread selection depends on whether I want the stitching to blend or stand out. For most coasters, I use thread that matches the fabric, but for decorative topstitching, I might choose a contrasting color that adds visual interest.
My essential notions include sharp fabric scissors, a rotary cutter and mat for precise cutting, pins, and a seam ripper for those inevitable mistakes. A good iron is absolutely crucial – proper pressing makes the difference between amateur and professional-looking results.
For embellishments, I keep bias tape in various colors, piping cord, embroidery floss, and small pieces of decorative trim. These extras transform basic coasters into special pieces that feel truly custom-made.
Simple Square Fabric Coasters
Square coasters are where I always recommend beginners start because they’re straightforward, forgiving, and produce beautiful results quickly. I can complete a set of four in about thirty minutes, making this the perfect project when I need immediate gratification or a last-minute gift.
My go-to method involves cutting two 5-inch squares of fabric for each coaster. I place them right sides together, pin carefully, and sew around the edges with a ¼-inch seam allowance, leaving a 2-inch opening for turning. The key to professional-looking results is clipping the corners before turning – this eliminates bulk and creates crisp, sharp corners.
After turning the coaster right side out, I use a blunt object like a chopstick to gently push out the corners, being careful not to poke through the fabric. I press the coaster flat, tucking in the seam allowances at the opening, then topstitch around the entire perimeter about ⅛-inch from the edge. This topstitching not only closes the opening but also adds a finished look and helps the coaster lay flat.
For added structure, I sometimes insert a layer of batting or interfacing between the fabric layers before sewing. This makes the coasters more substantial and better at protecting surfaces from heat and moisture.
I love making sets of square coasters in coordinating fabrics – perhaps four different prints that share the same color palette, or a mix of prints and solids that complement each other. The uniformity of the square shape allows the fabrics to be the stars of the show.
Round Fabric Coasters with Piping
Round coasters feel more elegant and sophisticated than their square counterparts, and adding piping elevates them to truly special status. While they require a bit more precision than square coasters, the results are so beautiful that they’ve become my preferred style for gifts and special occasions.
I start by creating a template from cardboard – usually 4½ inches in diameter for the finished coaster. Using this template, I cut two fabric circles for each coaster, adding ¼-inch seam allowances. The key to perfect circles is taking time to cut carefully and accurately.
Making piping might seem intimidating, but it’s actually quite simple. I cut bias strips of fabric about 1½ inches wide and long enough to go around the coaster plus a few extra inches. I wrap this strip around piping cord and stitch close to the cord using a zipper foot. The result is custom piping that perfectly matches or coordinates with my coaster fabric.
Attaching the piping requires patience and precision. I pin the piping around the edge of one fabric circle, with the piping cord facing toward the center and the raw edges aligned with the fabric edge. At the starting point, I leave about an inch of piping free, and where the piping meets at the end, I carefully join the ends for a seamless look.
I place the second fabric circle on top, right sides together, and sew around the edge using the zipper foot to get close to the piping. I leave a small opening for turning, trim the seam allowances, and turn the coaster right side out. The piping creates a beautiful finished edge that looks incredibly professional.
Patchwork Fabric Coasters
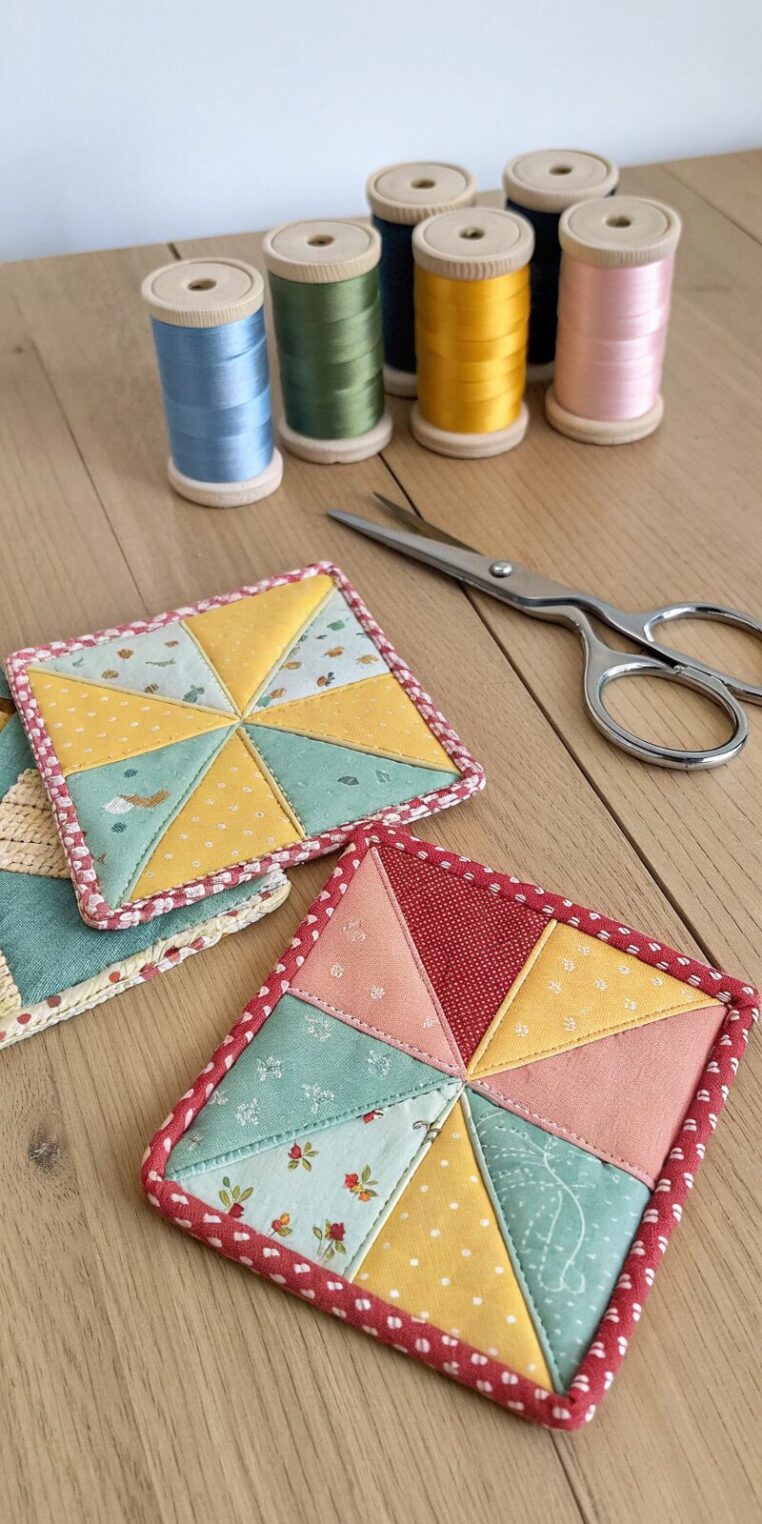
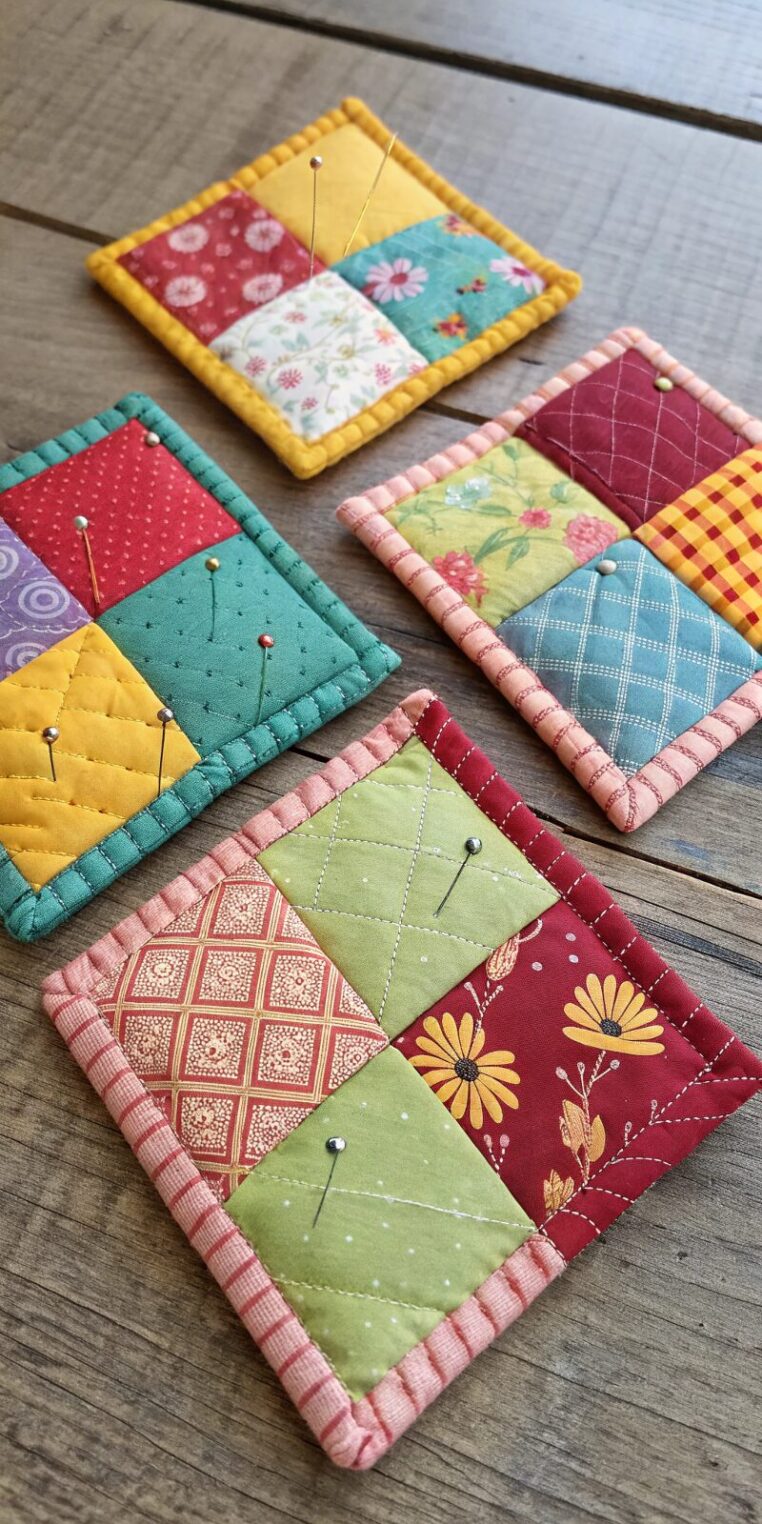
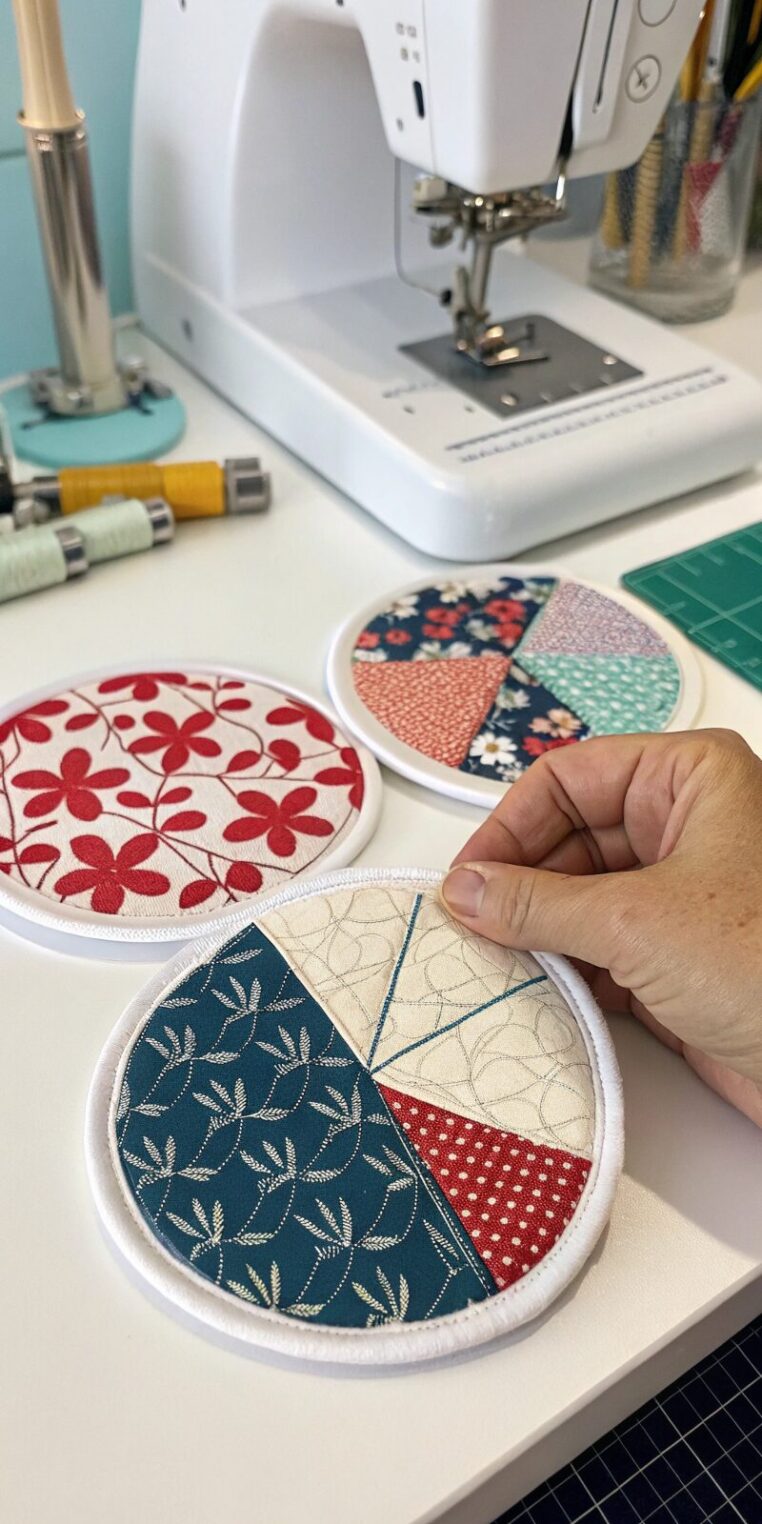
Patchwork coasters are perfect for using up small fabric scraps and creating coasters with incredible visual interest. I love how each coaster becomes a tiny quilt, showcasing different fabric combinations and allowing me to experiment with color and pattern mixing.
My favorite patchwork design for coasters is a simple four-patch or nine-patch block. For four-patch coasters, I cut fabric squares 2½ inches each, sew them together in pairs, then join the pairs to create a 4½-inch block. After adding backing fabric and following the same construction method as simple square coasters, I have unique patchwork pieces that are truly one-of-a-kind.
Nine-patch blocks require more pieces but create more complex designs. I cut 1¾-inch squares and arrange them in pleasing combinations before sewing. This size allows for intricate patterns while keeping the finished coaster at a practical size.
The key to successful patchwork coasters is paying attention to value – the relative lightness and darkness of fabrics. I aim for good contrast so the individual pieces are distinct and the overall design is clear. Sometimes I sketch out color placement before cutting to ensure balanced compositions.
I’ve experimented with other patchwork patterns too: log cabin blocks create dynamic designs, while simple strip piecing allows for modern, graphic looks. The small scale of coasters makes them perfect for trying new techniques without committing to larger projects.
Quilted Fabric Coasters
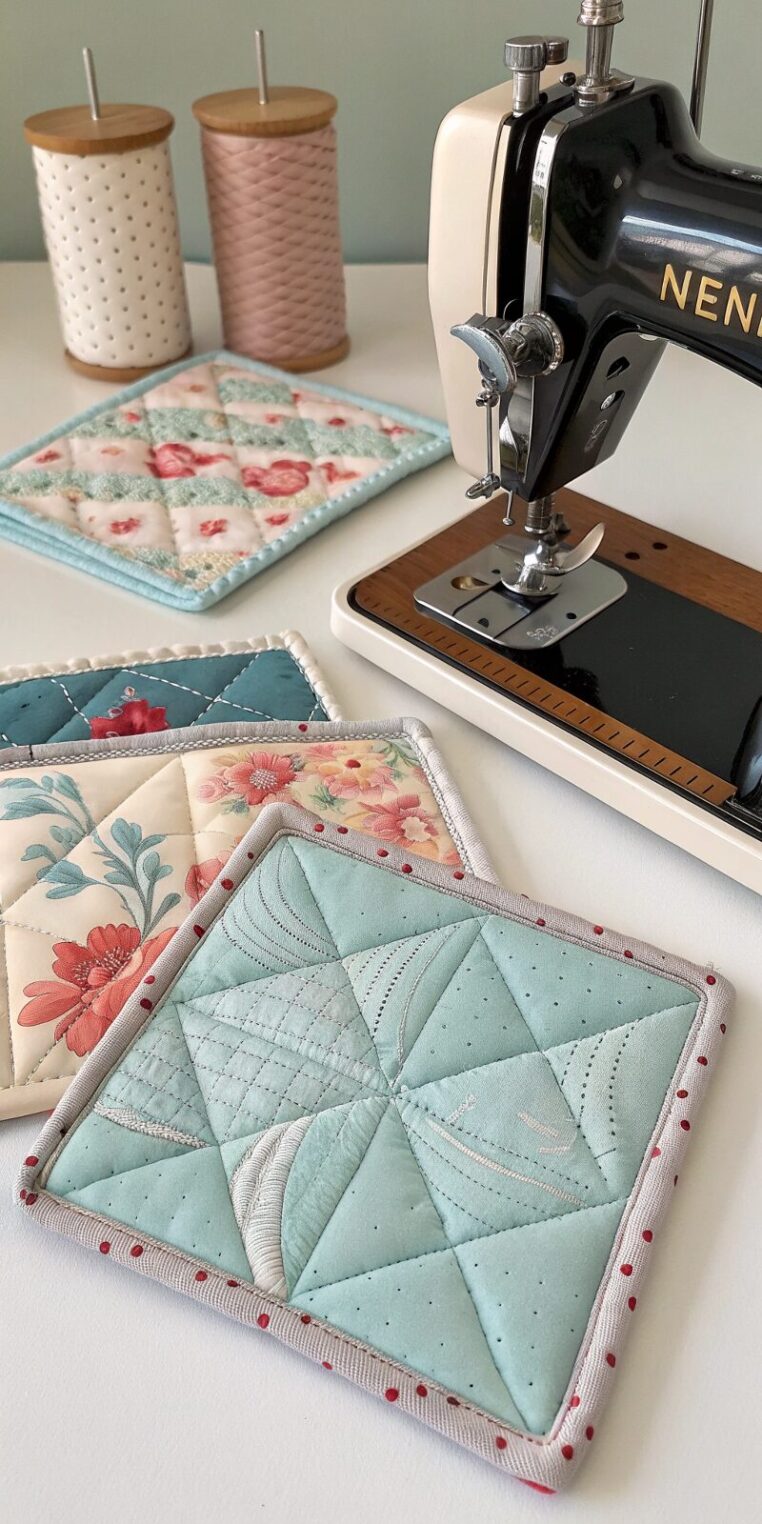
Quilted coasters combine the beauty of traditional quilting with the practicality of everyday use. These are my go-to choice when I want coasters that feel substantial and luxurious while showcasing quilting techniques on a manageable scale.
I create quilted coasters by sandwiching batting between two layers of fabric, then quilting through all layers before finishing the edges. For the quilting design, I keep it simple – straight lines, gentle curves, or basic geometric patterns work best at this small scale.
My process begins with cutting fabric and batting pieces slightly larger than the finished coaster size. I layer them carefully – backing fabric face down, batting in the middle, and top fabric face up – then pin or baste the layers together. Using my walking foot, I quilt the layers with either straight lines or gentle curves, keeping the quilting lines about ½-inch apart.
After quilting, I trim the coaster to its final size and finish the edges with bias tape or by folding and stitching the edges together. The bias tape method is my preference because it creates a clean, professional finish that frames the quilted design beautifully.
The quilting not only adds visual texture but also makes the coasters more absorbent and better at protecting surfaces. The batting provides insulation against heat, making these coasters particularly good for hot beverages.
Coasters with Embroidered Designs
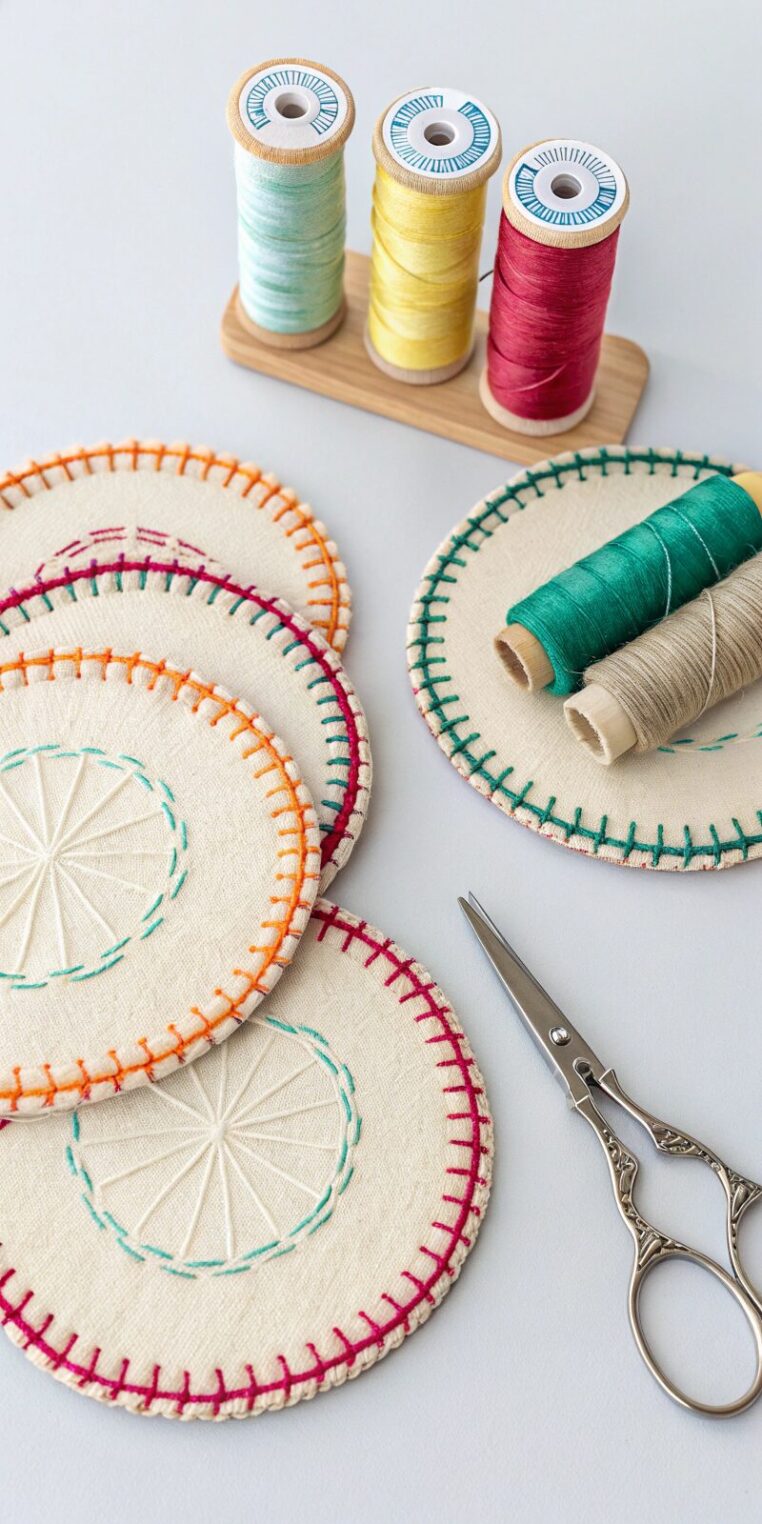
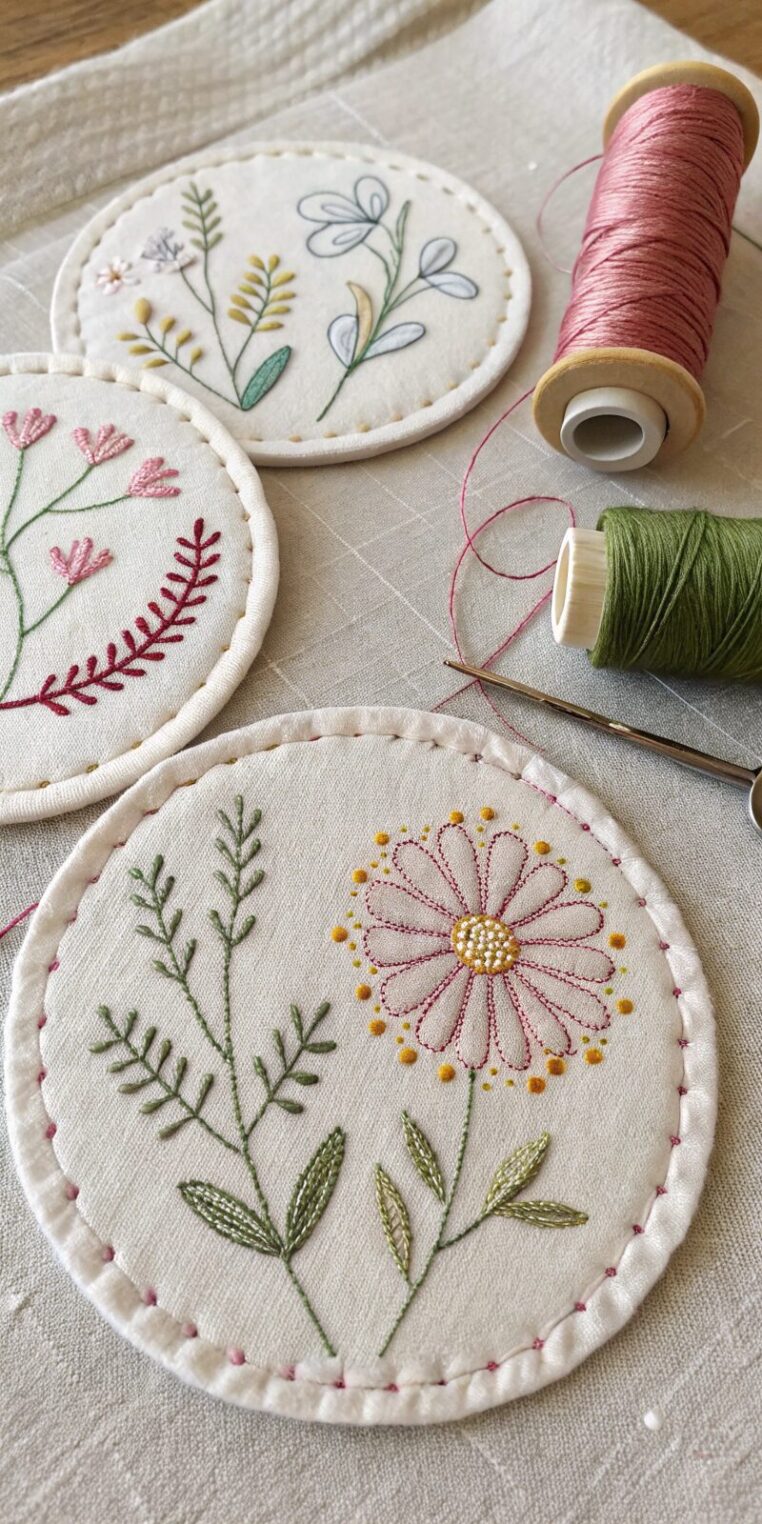
Embroidered coasters allow me to combine my love of hand-stitching with practical home accessories. While they take longer than other coaster styles, the results are so special that they’re worth every minute spent stitching.
I typically start with plain fabric squares and plan my embroidery design to fit within the coaster boundaries, leaving enough margin for seam allowances. Simple designs work best – flowers, leaves, geometric patterns, or even meaningful words or initials. I transfer the design using water-soluble markers or transfer paper.
For embroidery floss, I usually work with two or three strands for coverage without bulk. Basic stitches like backstitch, satin stitch, and French knots create beautiful results without requiring advanced embroidery skills. I particularly love using chain stitch for outlining and filling in small areas.
Once the embroidery is complete, I press it carefully from the wrong side to avoid flattening the stitches. Then I construct the coaster using the same method as simple square coasters, being extra careful during pressing and topstitching to preserve the dimensional quality of the embroidery.
These embroidered coasters make incredibly meaningful gifts because of the time and care invested in each piece. I’ve made sets featuring family members’ initials, seasonal motifs for holidays, and favorite flowers for garden-loving friends.
Fabric Coasters with Bias Tape Edging
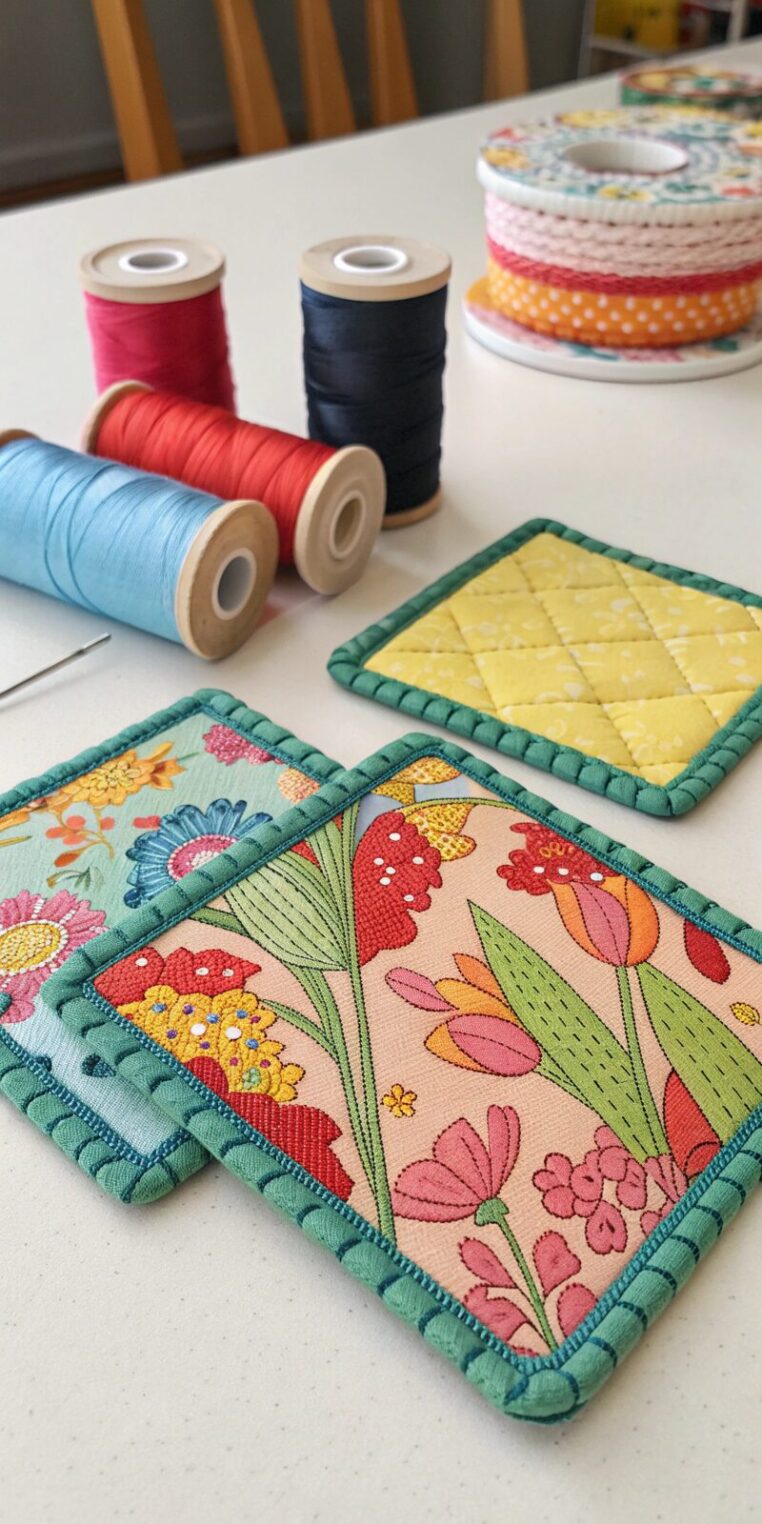
Bias tape edging transforms simple fabric coasters into polished, professional-looking accessories. I love this technique because it allows me to add a coordinating or contrasting color while creating a beautifully finished edge that wears well over time.
I start by cutting single layers of fabric rather than the doubled layers used in other coaster methods. For added structure, I fuse interfacing to the wrong side of each fabric piece. The interfacing provides stability while keeping the coaster from being too thick when the bias tape is added.
Applying bias tape requires patience but isn’t difficult. I start by unfolding one edge of the bias tape and pinning it around the coaster’s perimeter, with right sides together and raw edges aligned. I sew along the first fold line of the bias tape, then fold the tape over the edge to the back side and hand-stitch or machine-stitch in place.
The corners require special attention to create neat, professional results. I miter the corners by folding the bias tape at 45-degree angles, creating clean corner treatments that eliminate bulk while maintaining the tape’s continuous appearance around the perimeter.
I love experimenting with different bias tape colors and patterns. Sometimes I use coordinating colors for subtle elegance, while other times I choose high-contrast colors for bold, graphic looks. Making my own bias tape from coordinating fabrics creates perfectly matched sets.
Layered Fabric and Cork Coasters
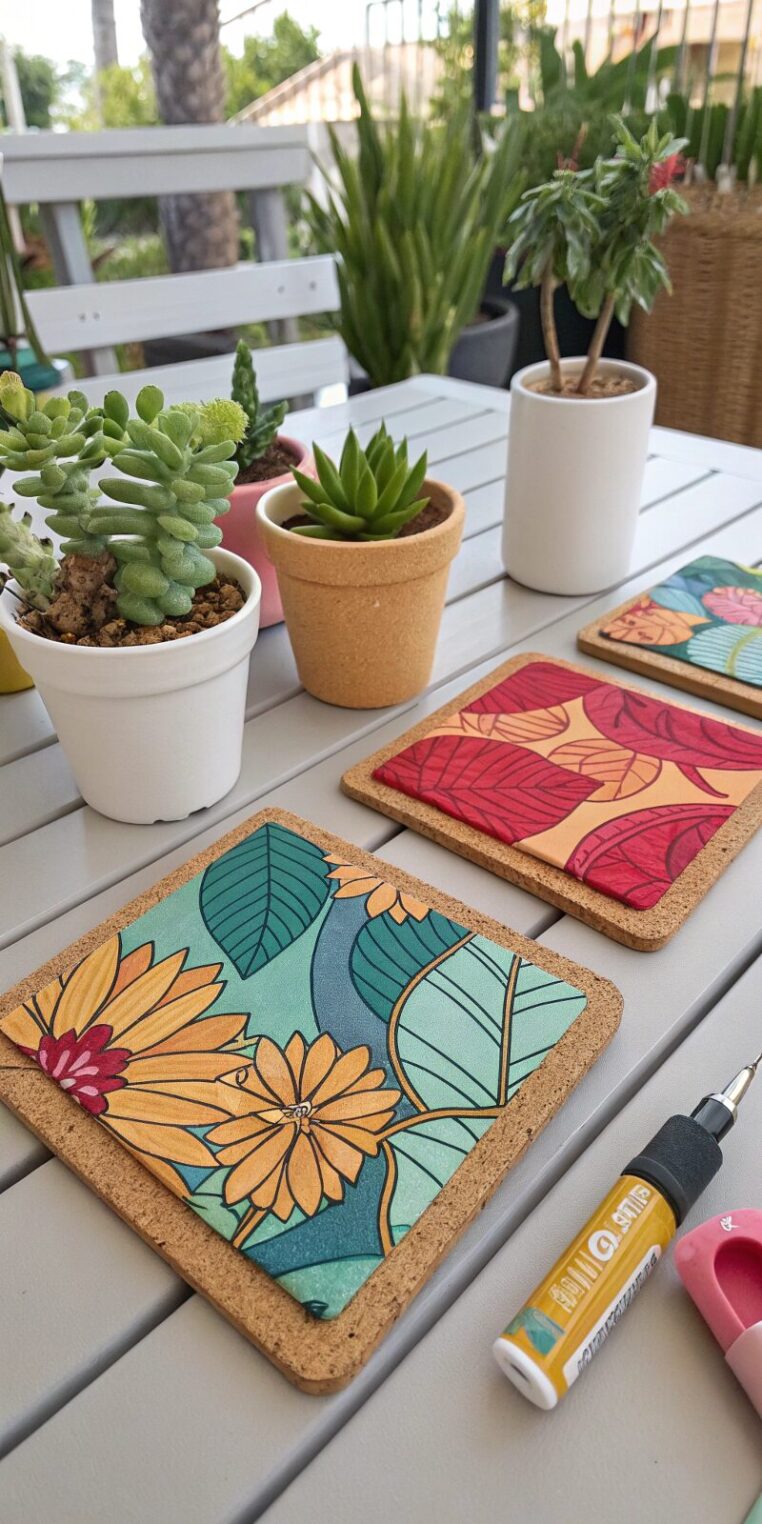
Combining fabric with cork creates coasters that are both beautiful and supremely functional. The cork provides excellent grip and moisture resistance, while the fabric adds color, pattern, and style. These have become my favorite coasters for everyday use because they perform so well while looking fantastic.
I purchase cork sheets from craft stores and cut them to size – usually about 3½ inches square for square coasters or 3½-inch circles for round ones. The cork provides the base layer, with fabric applied to the top surface for decoration.
My preferred method involves cutting fabric pieces about ½-inch larger than the cork on all sides. I apply spray adhesive or fabric glue to the cork surface, then smooth the fabric over it, wrapping the excess around to the back side. I secure the fabric edges with more adhesive, creating smooth, neat edges.
For a more finished look, I sometimes add a backing layer of coordinating fabric to cover the wrapped edges on the cork’s bottom surface. This creates coasters that look polished from both sides and feel substantial in hand.
The combination of materials makes these coasters particularly good for outdoor entertaining. The cork grips well on patio tables, while the fabric adds style that complements outdoor decor. They’re also excellent for protecting fine furniture because the cork provides a gentle, non-slip base.
Coasters with Appliqué Shapes
Appliqué coasters allow me to create pictorial designs and add dimensional interest to basic coaster shapes. Whether I’m making seasonal designs, geometric patterns, or representational images, appliqué techniques open up endless creative possibilities.
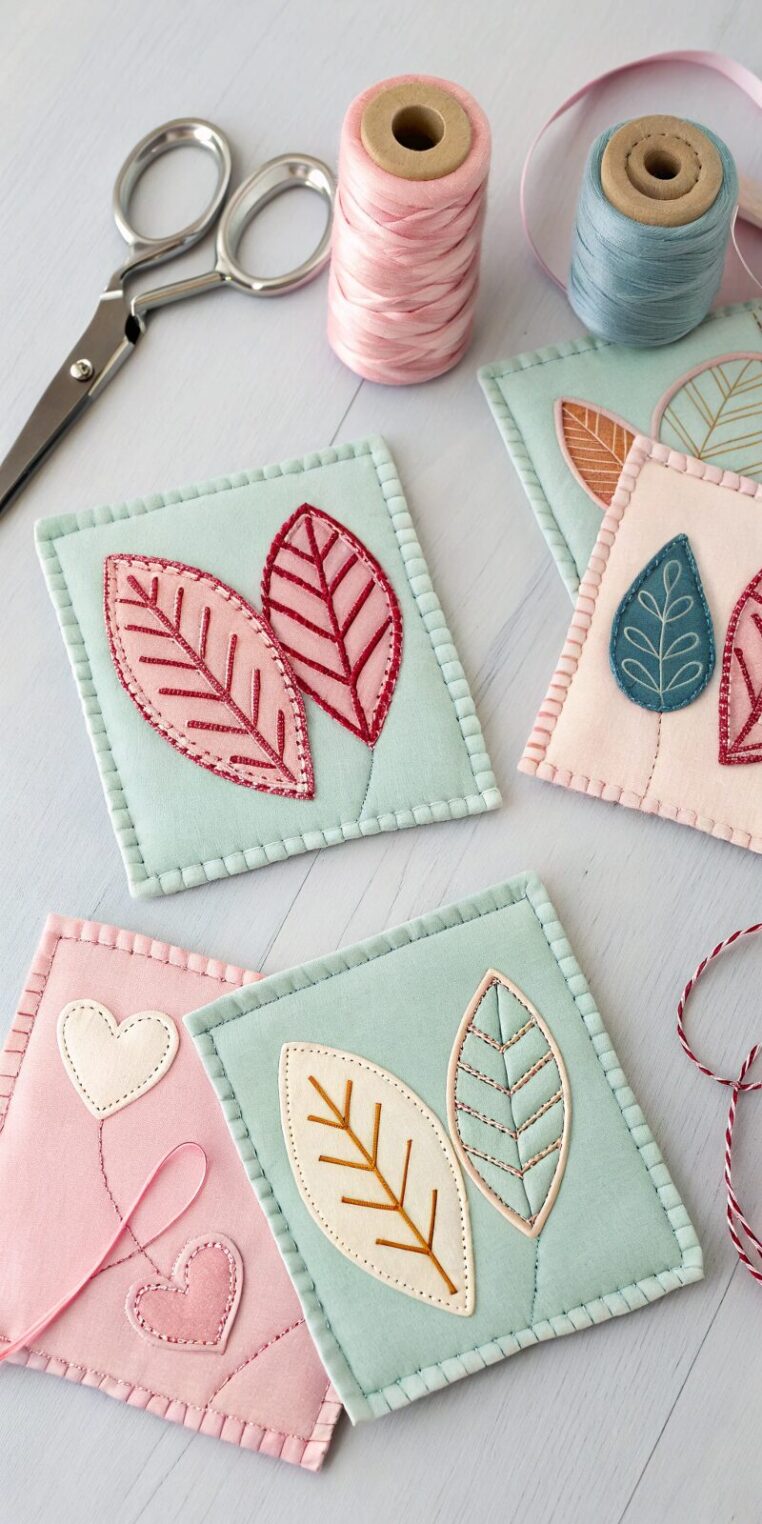
I start with base coasters constructed using any of the previous methods, then add appliqué elements on top. For simple shapes like circles, leaves, or hearts, I cut the appliqué pieces from coordinating fabrics and attach them using fusible webbing and decorative stitching.
Raw-edge appliqué is my go-to technique for casual, modern looks. I simply cut shapes from fabric, fuse them in place with fusible webbing, and secure them with straight stitching or zigzag stitching around the edges. The raw edges add texture and visual interest while being perfectly secure.
For more traditional looks, I turn under the edges of appliqué pieces and attach them with blind hem stitches or decorative hand stitching. This method takes longer but creates very refined, traditional results that work well for formal settings.
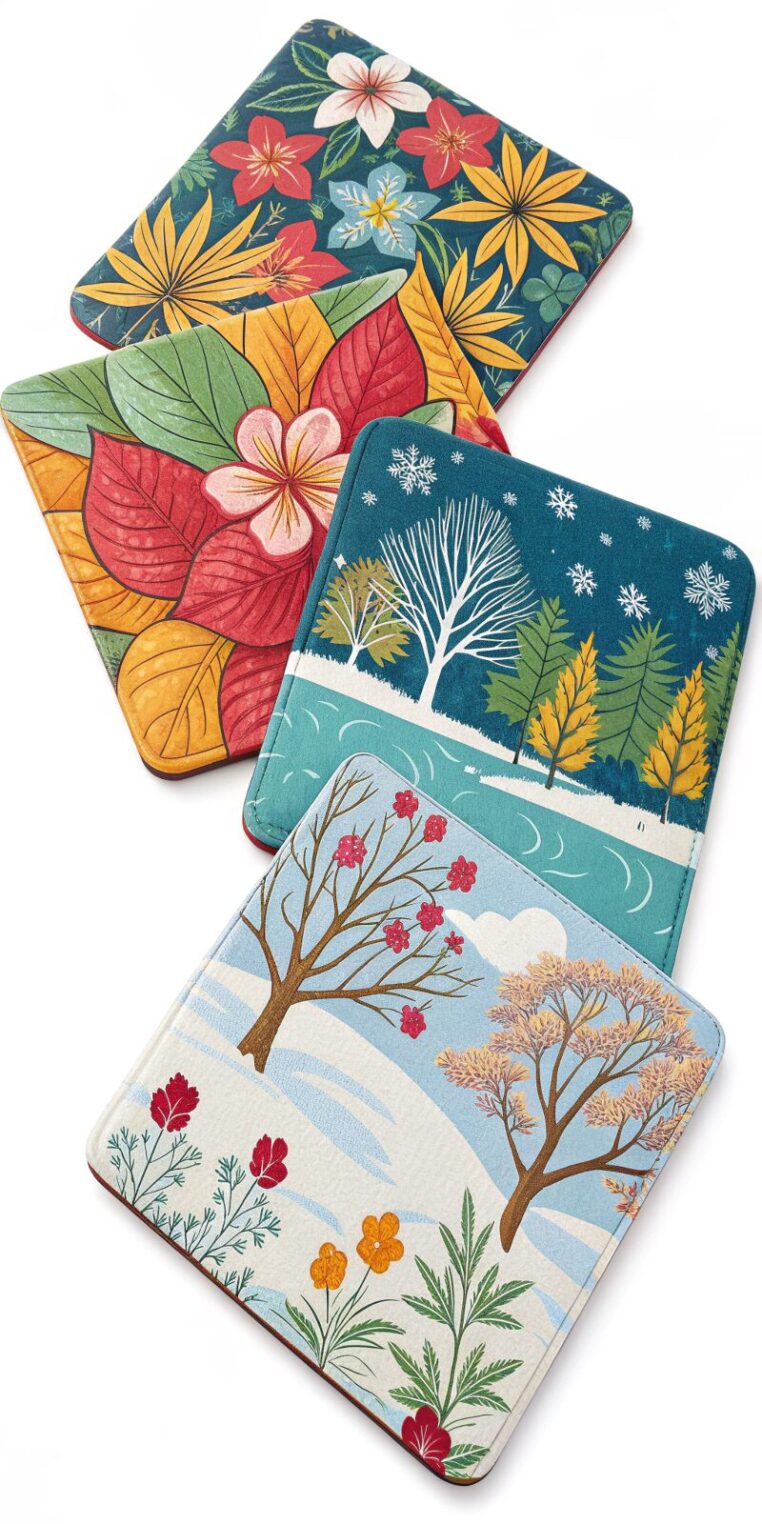
Seasonal appliqué coasters are particularly fun to make. I create sets featuring fall leaves, spring flowers, winter snowflakes, or summer motifs. These themed sets allow me to change my table accessories with the seasons while using basic coaster construction methods.
Reversible Fabric Coasters
Reversible coasters are like getting two sets in one – I can flip them to match different moods, seasons, or color schemes. They’re also incredibly practical because both sides can be used, effectively doubling the coaster’s lifespan.
Creating reversible coasters requires careful fabric selection to ensure both sides are equally attractive and functional. I choose fabrics that coordinate well together – perhaps a bold print paired with a coordinating solid, or two different patterns that share similar colors.
The construction method is similar to simple square coasters, but I pay extra attention to the finishing details since both sides will be visible. I use high-quality fabrics for both sides and ensure my topstitching is perfectly straight and even, since it will be seen from both directions.
For added interest, I sometimes use different colored threads for the topstitching, choosing colors that complement both fabric sides. This creates subtle detail that enhances both sides of the reversible design.
These coasters are excellent for people who like to change their decor frequently or for homes where different family members have different style preferences. They’re also practical for entertaining, allowing hosts to coordinate coasters with different table settings or occasions.
Fun Seasonal Fabric Coasters
Seasonal coasters allow me to celebrate holidays and changing seasons while adding festive touches to my home. I’ve developed quite a collection over the years, with different sets for spring, summer, fall, winter, and various holidays.
For spring coasters, I love using fabrics with fresh florals, soft pastels, and motifs like butterflies or birds. These fabrics instantly brighten my table and celebrate the renewal of the season. I often incorporate green fabrics to represent new growth and fresh starts.
Summer coasters feature bright, cheerful colors and patterns – tropical prints, nautical themes, or bold geometric designs in sunny yellows and ocean blues. These coasters work perfectly for outdoor entertaining and pool parties.
Fall brings opportunities for rich, warm colors and seasonal motifs. I love using fabrics with leaves, pumpkins, or harvest themes in oranges, deep reds, and golden yellows. These coasters make my home feel cozy and welcoming as the weather turns cooler.
Winter and holiday coasters feature traditional colors like deep reds, forest greens, and metallics, often with snowflake patterns, holly motifs, or other festive designs. I also make specific sets for holidays like Christmas, with appropriate colors and patterns for each celebration.
The key to successful seasonal coasters is choosing fabrics that clearly represent the season while still being sophisticated enough for year-round use if desired.
Quick Tips for Sewing Coasters Faster
After making hundreds of coasters over the years, I’ve developed techniques that significantly speed up the process without sacrificing quality. These tips have transformed coaster-making from a lengthy project into something I can do quickly when I need fast gifts or want to use up fabric scraps.
Batch cutting is my number one time-saver. Instead of cutting pieces for one coaster at a time, I cut all pieces for an entire set simultaneously. I stack fabrics and cut multiple layers at once using a rotary cutter and ruler for accuracy and speed.
Assembly line construction dramatically reduces production time. Rather than completing one coaster from start to finish before beginning the next, I perform each step on all coasters in the set before moving to the next step. I’ll pin all the coasters, then sew all the seams, then trim all the corners, and so on.
Having dedicated coaster supplies ready to go eliminates setup time. I keep a basket with coaster-specific supplies – interfacing cut to standard sizes, bias tape in popular colors, and templates for different shapes. This preparation means I can start sewing immediately when inspiration strikes.
Chain piecing is particularly useful when making patchwork coasters. I feed pieces through the sewing machine one after another without cutting threads between pieces, creating a chain of sewn units that I separate afterward. This technique dramatically reduces the time spent starting and stopping at the machine.
Pressing as I go ensures professional results without adding significant time. I keep my iron nearby and press seams and finished edges immediately after sewing, while the fabric is still warm and cooperative.
Conclusion: Enjoy Your Handmade Coasters
Making fabric coasters has brought me countless hours of creative satisfaction while producing functional items that enhance my daily life. These small projects prove that handmade doesn’t have to mean time-consuming or complicated – some of the most rewarding sewing projects are also the quickest and simplest.
What I love most about coaster-making is how it allows me to experiment with new techniques and use precious fabric scraps without committing to large projects. Each coaster set becomes a little design laboratory where I can try new color combinations, practice different skills, or simply enjoy the meditative process of creating something beautiful and useful.
The practical benefits of handmade coasters extend far beyond their decorative value. They’re washable when store-bought versions often aren’t, they can be customized to match any decor, and they cost a fraction of what quality commercial coasters would cost. Most importantly, they carry the satisfaction and pride that comes with creating something beautiful with your own hands.
Whether you make coasters for your own home, as gifts for friends and family, or even to sell at craft fairs, the skills and techniques involved will serve you well in larger sewing projects. The precision required for small items like coasters actually makes you a better sewist overall, improving your accuracy and attention to detail.
I encourage you to start with simple square coasters and gradually try more complex techniques as your confidence grows. Keep fabric scraps specifically for coaster projects, and don’t be afraid to experiment with different materials and methods. Some of my favorite coasters have come from happy accidents or spontaneous combinations of materials I had on hand.
Most importantly, enjoy the process. Coaster-making should be relaxing and rewarding, not stressful or perfectionist. Each set you create will be unique and special, carrying the love and care you put into every stitch.

