Introduction
There’s something so satisfying about turning a plain tote bag into your own personal art piece. I still remember my first painted tote — it was a disaster, honestly. I used regular acrylic paint instead of fabric paint, and after one wash, my beautiful sunflower design became an abstract smudge. But that failure taught me so much, and it sparked what has become one of my favorite creative outlets.
Over the years, I’ve painted dozens of totes — some simple, some bursting with color — and every single one tells a little story about my mood or creativity at the time. There’s the galaxy tote I made during a particularly stressful month at work, using the meditative process of blending colors to find calm. The quote tote I painted for my daughter’s first day of college, filled with words of encouragement I wanted her to carry with her.
Tote bag painting is such an easy, budget-friendly project that anyone can enjoy, whether you’re a total beginner or an experienced crafter. The beauty lies in its accessibility — you don’t need expensive supplies or advanced artistic skills. All you need is a blank tote, some fabric paint, and a spark of inspiration.
I’ve gathered 12 of my favorite easy tote bag painting ideas that I’ve tried and loved over the years. They’re fun, relaxing, and make incredible handmade gifts too. Some are perfect for lazy Sunday afternoons, others are great for craft parties with friends. So, grab your brushes, set up your workspace with some good music, and let’s get creative together.
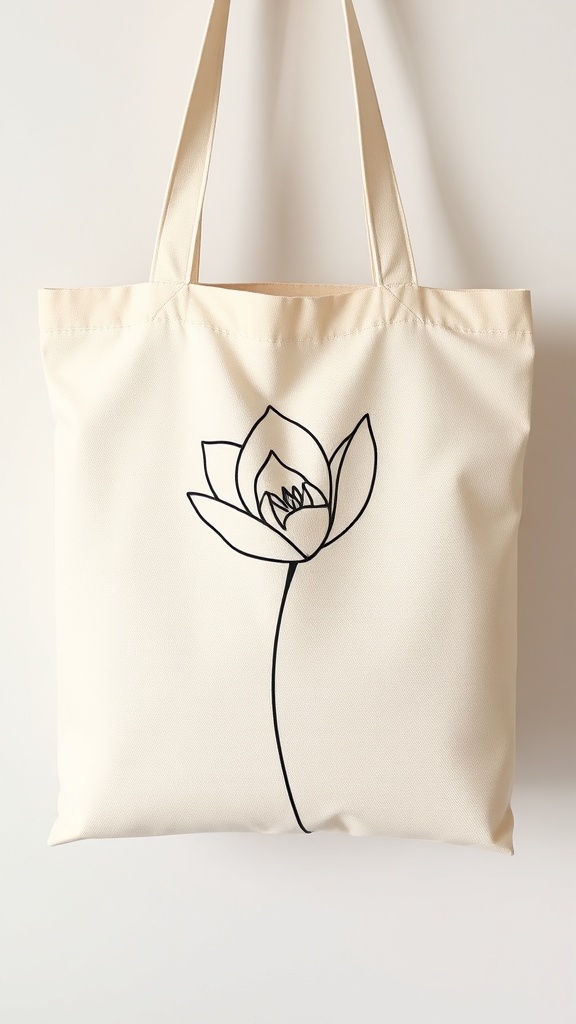
1. Minimalist Line Art Tote: Less is More, More is Beautiful
Simple, elegant, and effortlessly cool — a line drawing of a face or flower can instantly make a tote feel like a piece of wearable art. I discovered this technique when I was going through my minimalist phase, trying to simplify everything in my life.
I started with black fabric paint and a fine brush, attempting to draw a woman’s profile in one continuous line. The first few tries were shaky and uncertain, but I learned that the imperfections are what make line art beautiful. The slight wobble in a cheek, the not-quite-perfect curve of a lip — these “flaws” give the drawing personality and authenticity.
My favorite line art tote features a simple flower — just a few curved lines that somehow capture the essence of a bloom without getting caught up in details. Friends are always amazed at how sophisticated it looks, and I love telling them it took me less than ten minutes to create.
The key to successful line art is confidence. Don’t overthink it, don’t try to make it perfect. Let your hand move naturally, and embrace the organic quality that comes from hand-drawn lines. I’ve made several versions now — faces, flowers, even simple architectural elements like buildings or bridges. Each one has its own character and charm.
2. Abstract Color Blocks: Embracing Bold Simplicity
If you love bold designs like I do, try painting large geometric shapes or color blocks in your favorite hues. This technique taught me that sometimes the most striking art is also the simplest to create.
My first color block tote happened by accident. I was testing paint colors on a practice bag, making large swatches to see how different hues looked on canvas. When I stepped back, I realized the random rectangles and squares looked intentional and modern. It was a happy accident that became one of my most-used totes.
The beauty of this design is its flexibility. You can go monochromatic with different shades of the same color, create a rainbow effect with bold contrasts, or stick to a sophisticated palette of neutrals with one pop of bright color. I’ve made versions using just three colors, and others that incorporate six or seven different hues.
The process is wonderfully meditative. There’s something satisfying about filling in clean geometric shapes with solid color. No detail work, no pressure to make things look realistic — just pure color and form. It’s modern and playful, and no two bags ever look exactly alike, even when you’re following the same basic approach.
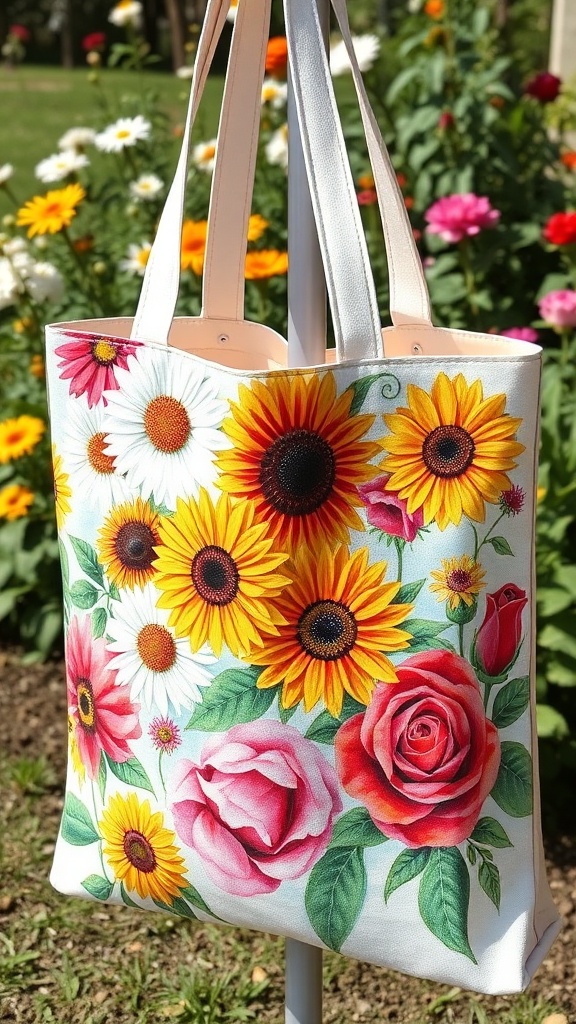
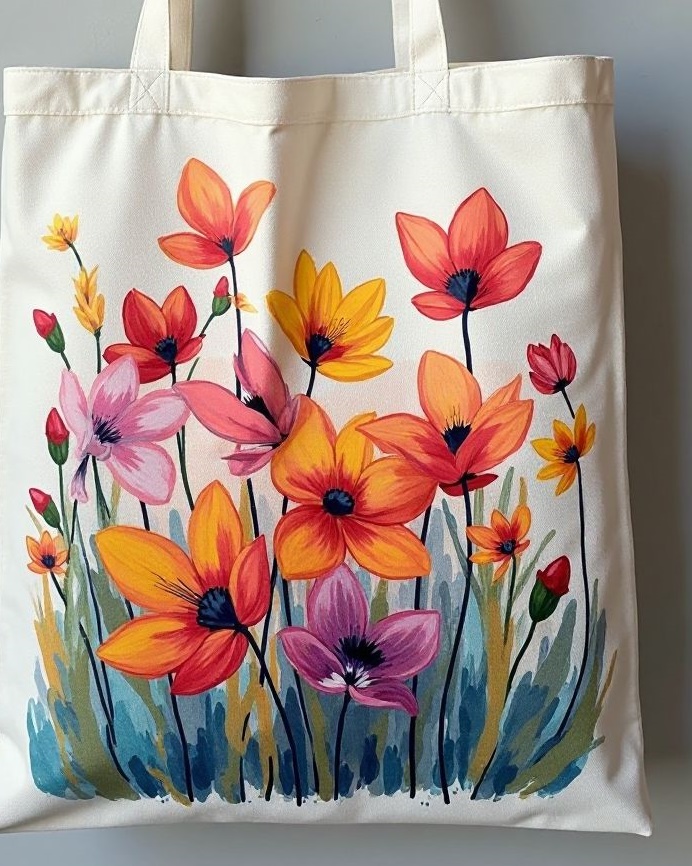
3. Floral Garden Tote: Bringing Nature to Life
This design never fails to brighten my day or the day of anyone who sees it. Painting clusters of daisies, sunflowers, or roses using sponges or fine brushes creates a cheerful, nature-inspired look that makes every trip to the grocery store feel like a walk through a garden.
My love affair with floral totes began during a particularly gray winter. I was desperate for color and life, so I decided to paint my own spring. I started with simple daisies — white petals with yellow centers — scattered across the front of a natural canvas tote. The process was so therapeutic that I kept adding flowers until the entire bag was covered in blooms.
I’ve experimented with different techniques over the years. Sponge painting creates soft, impressionistic flowers that have a dreamy quality. Fine brush work allows for more detailed, realistic blooms. I’ve even tried finger painting flowers, which creates a wonderfully organic, childlike quality that always makes me smile.
The key to successful floral painting is layering. Start with your background colors, add the basic flower shapes, then build up details like centers, shadows, and highlights. Don’t worry about botanical accuracy — some of my favorite floral totes feature flowers that exist only in my imagination, combining colors and shapes that nature never quite puts together.
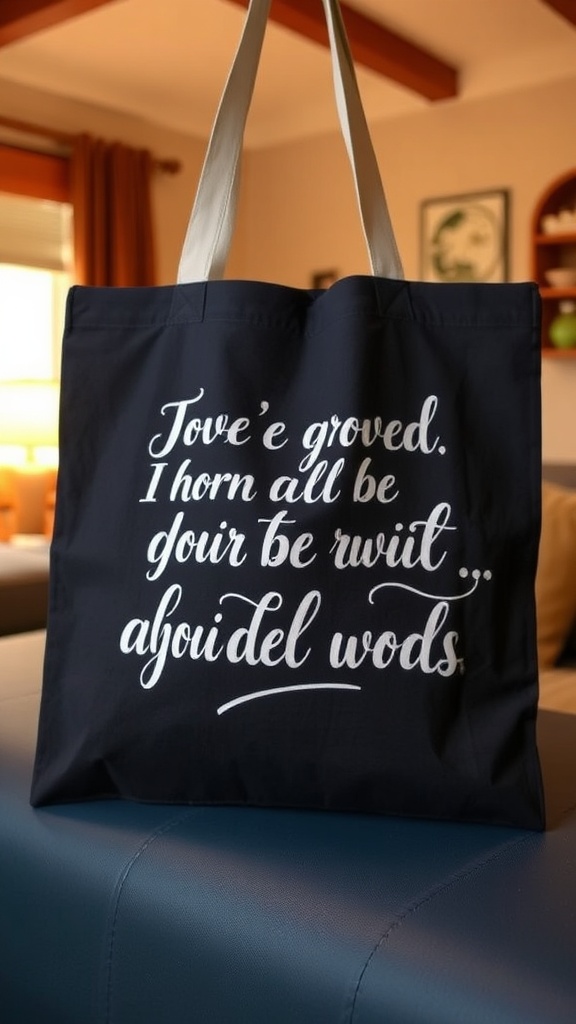
4. Quote Lover’s Tote: Carrying Inspiration Everywhere
Choose your favorite motivational quote or phrase, then paint it in your own handwriting or stencil it neatly. This has become one of my most popular designs, both for personal use and as gifts for friends going through transitions or challenges.
My first quote tote was born out of a particularly difficult period in my life. I was facing some major changes and needed daily reminders to stay positive. I chose the phrase “She believed she could, so she did” and painted it in flowing script across a navy blue tote. Carrying those words with me every day made a real difference in my mindset.
The technical aspects of lettering on fabric taught me patience and planning. I learned to sketch the quote lightly in pencil first, paying attention to spacing and letter size. Fabric paint behaves differently than paper and ink, so I had to adjust my usual handwriting style to work with the medium.
I’ve made quote totes for graduations (“The adventure begins”), new mothers (“Mama bear”), and friends starting new jobs (“Chase your dreams”). Each one becomes deeply personal to the recipient. There’s something powerful about carrying meaningful words with you, and the handmade aspect makes it even more special.
5. Fruit Pop Tote: Summer Sweetness in Every Stitch
For a summer vibe that lasts all year, paint cute fruits like oranges, cherries, or strawberries across the tote. The result is fresh, colorful, and full of personality — like carrying a farmers market with you wherever you go.
This design emerged during a summer when I was obsessed with fresh fruit. I was visiting farmers markets every weekend, coming home with bags full of the most beautiful produce. The colors and shapes were so inspiring that I had to capture them somehow.
I started with simple cherries — just red circles with green stems. But I got carried away and added strawberries with their distinctive shapes and tiny seeds, orange slices showing their beautiful internal geometry, and even a few bananas for their cheerful yellow color. The tote became a celebration of summer abundance.
The technique is forgiving and fun. You can make the fruits realistic or stylized, large or small, scattered randomly or arranged in patterns. I’ve made versions that look almost photographic and others that are more cartoon-like and playful. Kids especially love these totes, and they make great gifts for teachers or anyone who appreciates whimsical design.
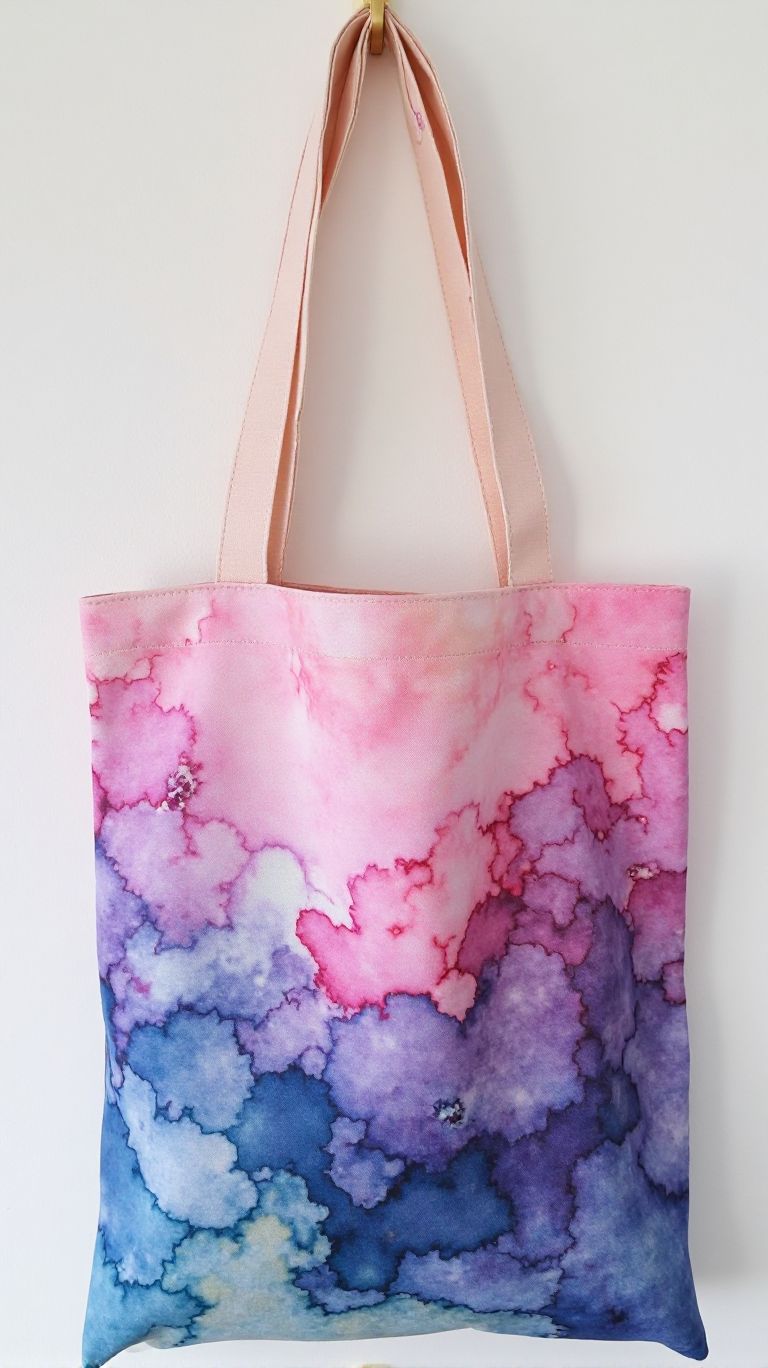
6. Watercolor Wash Tote: Dreamy Soft Elegance
Use watered-down fabric paints to create a soft, dreamy watercolor background, then blend pastel shades together for a light and airy finish. This technique opened up a whole new world of possibilities for me.
I discovered watercolor fabric painting by accident when I spilled water on my paint palette. Instead of cleaning it up immediately, I watched how the colors began to blend and flow together. The effect was so beautiful that I decided to recreate it intentionally on a tote bag.
The process requires a different mindset than other painting techniques. You have to embrace the unpredictability, let the colors flow where they want to go, and find beauty in the unexpected combinations that emerge. It’s less about control and more about collaboration with the medium.
My favorite watercolor tote features soft pinks, purples, and blues that blend together like a sunset sky. I added some salt while the paint was still wet, which created interesting texture effects. The finished piece looks sophisticated and artistic, but it was actually one of the easiest techniques I’ve ever tried.
The key is working quickly while the paint is still wet, allowing colors to merge naturally. You can guide the process but can’t completely control it, which is both challenging and liberating.
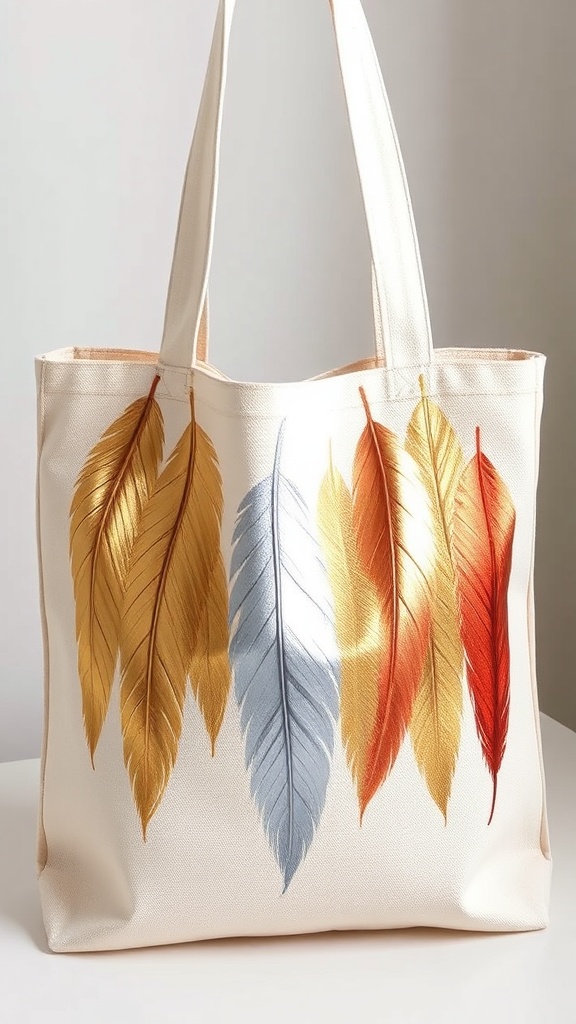
7. Boho Feather Design: Free-Spirited Beauty
Feathers painted in metallic tones or layered with ombré colors look stunning on natural canvas, giving that free-spirited, bohemian vibe that never goes out of style. This design connects me to my love of nature and travel.
I developed this technique after finding some beautiful feathers during a hiking trip. I pressed them in a book and used them as templates, but eventually learned to paint feathers freehand, giving each one its own character and movement.
The beauty of feather designs lies in their natural asymmetry and delicate detail. Real feathers have so much variation — some barbs are straight, others curve, some sections are dense while others are sparse. Capturing this natural imperfection in paint creates incredibly lifelike and beautiful results.
I love using metallic paints for feathers — gold, silver, and copper create stunning effects, especially when layered over darker base colors. The metallic elements catch light differently throughout the day, making the tote seem to change and move as you carry it.
For ombré effects, I blend colors from dark to light along the length of the feather, creating depth and dimension. The technique works beautifully with both natural colors like browns and grays, and more fantastical combinations like purple to pink or blue to turquoise.
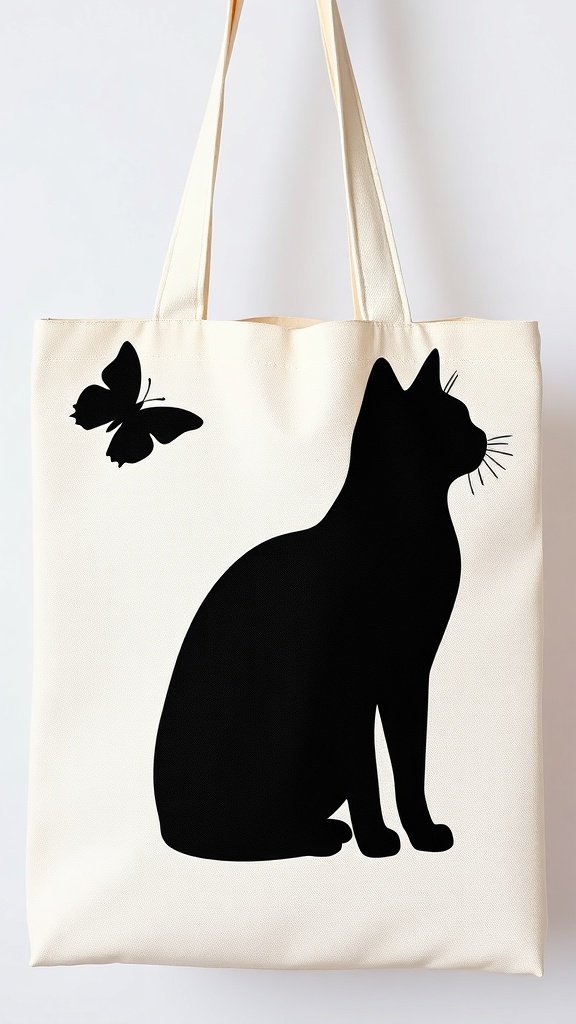
8. Animal Silhouette Tote: Simple Shapes, Powerful Impact
Cats, butterflies, or birds — you can stencil or hand-paint silhouettes for a clean, striking design that’s surprisingly versatile. I love how easy this technique is to customize while still creating professional-looking results.
My first silhouette tote featured a simple cat sitting in profile. I chose black paint on a natural canvas background, creating a stark contrast that was both elegant and playful. The simplicity of the silhouette allowed the viewer’s imagination to fill in the details — it could be any cat, which somehow made it more universal and appealing.
I’ve since expanded to include butterflies with intricate wing shapes, birds in flight, and even more complex compositions with multiple animals. The key is choosing subjects with distinctive, recognizable shapes that read clearly as silhouettes.
The technique is very forgiving for beginners because you’re working with solid shapes rather than trying to capture details and shading. If you’re nervous about drawing freehand, you can easily create or find stencils. But I encourage people to try drawing directly — the slight imperfections of hand-drawn silhouettes give them character and warmth that perfect stencils sometimes lack.
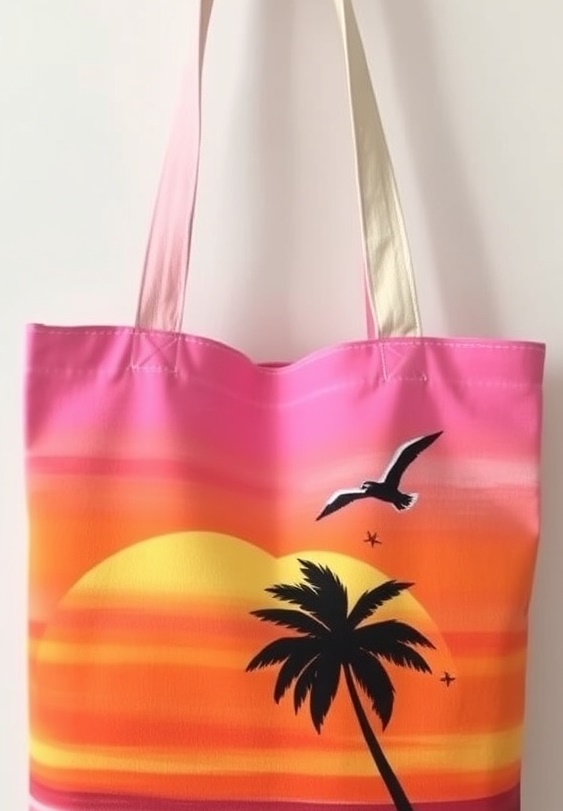
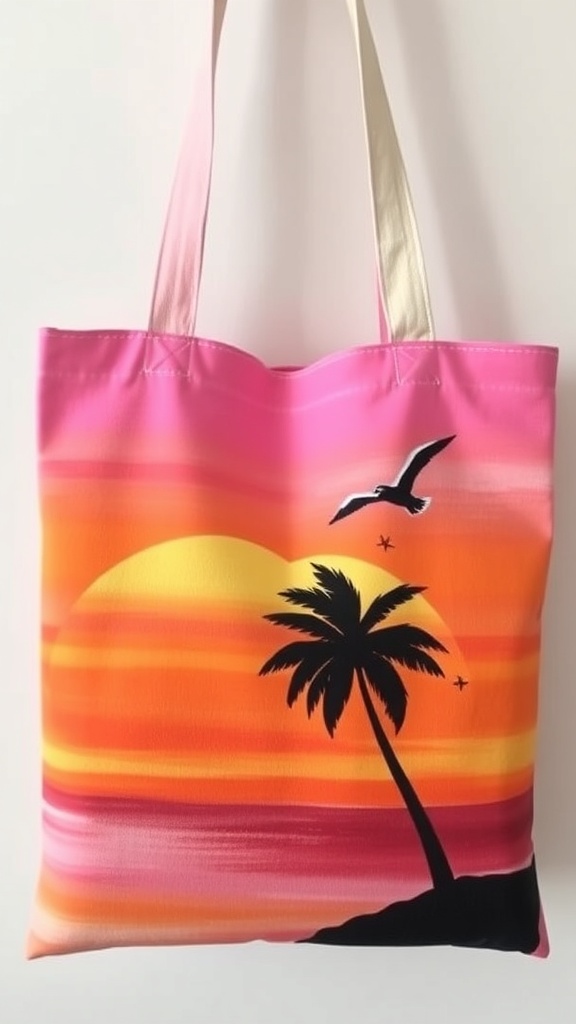
9. Beach Sunset Tote: Carrying Summer Everywhere
Blend orange, pink, and purple tones across the bag, then paint a simple palm tree or seagull silhouette. It’s like carrying summer with you everywhere you go, and it never fails to lift my spirits, even on the grayest winter day.
This design was inspired by a particularly memorable beach vacation. I wanted to capture not just the visual beauty of the sunset, but the feeling of peace and joy that came with that moment. Every time I carry this tote, I’m transported back to that beach, feeling the warm sand between my toes and hearing the sound of waves.
The blending technique requires working while the paint is still wet, creating soft transitions between colors just like in a real sunset. I start with the lightest color (usually yellow or pale orange) and gradually blend in deeper oranges, pinks, and purples as I move across the canvas.
The silhouette element grounds the composition and adds a focal point to the color wash. I’ve experimented with different silhouettes — palm trees for tropical vibes, lighthouses for coastal charm, and simple horizon lines for minimalist appeal. The key is keeping the silhouette simple so it doesn’t compete with the beautiful color work.
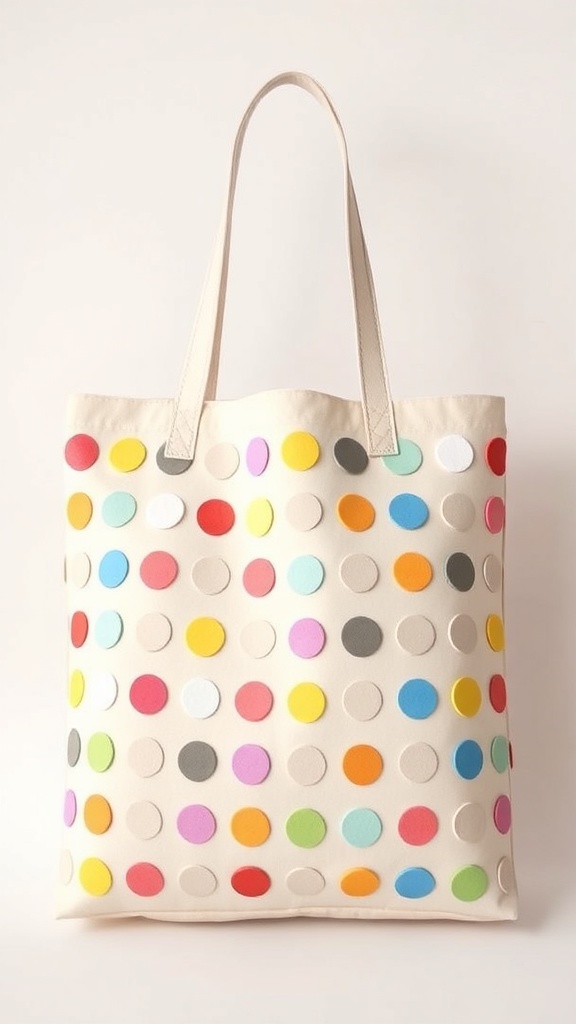
10. Polka Dot Pattern Tote: Timeless Fun
An all-time classic that never goes out of style! Use a round sponge or even the end of a pencil eraser to paint perfect dots. Go pastel for something subtle or bright for something fun and energetic.
My polka dot journey began with a failed attempt at painting perfect flowers. I was getting frustrated with the detail work when I decided to just paint simple dots instead. The result was so cheerful and classic that it became one of my go-to designs.
The meditative quality of painting dots is incredibly soothing. There’s something rhythmic about dipping your tool, pressing it to the canvas, lifting it up, and moving to the next spot. It’s repetitive but not boring, and the results are always satisfying.
I’ve experimented with different dot sizes and arrangements. Uniform dots in a grid pattern create a retro, vintage feel. Random dots of various sizes feel more organic and playful. Gradient dots that fade from large to small can create movement and visual interest.
Color choice completely changes the personality of a polka dot tote. Soft pastels on white create a sweet, feminine look. Bright primaries on black feel bold and modern. Metallic dots on colored backgrounds add glamour and sophistication.
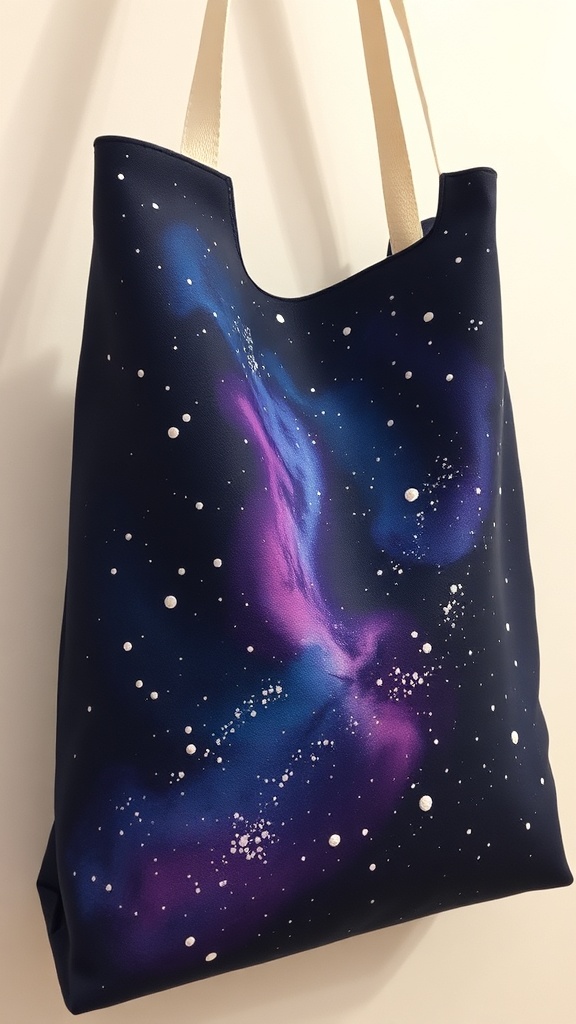
11. Galaxy Dream Tote: Carrying the Universe
With a sponge, blend dark blue, purple, and white paints to create a dreamy galaxy scene, then add white splatters for stars. This has become a total favorite of mine and almost everyone who sees it wants to know how I made it.
The galaxy technique emerged during a period when I was fascinated by space and astronomy. I wanted to capture the mystery and beauty of the night sky in a way that felt artistic rather than literal. The result is a tote that looks like a piece of the cosmos.
The process is wonderfully forgiving because galaxies are naturally imperfect and irregular. You start with the darkest colors — deep blues and purples — and build up layers of lighter colors using a sponge to create soft, cloudy effects. The key is blending while the paint is still wet, creating those beautiful color transitions you see in real nebula photos.
Adding stars is the most fun part. I use an old toothbrush loaded with white paint, running my thumb across the bristles to create fine splatters. The random nature of the splattering creates a realistic star field that’s impossible to replicate with a brush.
The finished effect is mesmerizing. People often stare at galaxy totes, seeing different shapes and patterns in the swirling colors, just like cloud-watching but more portable.
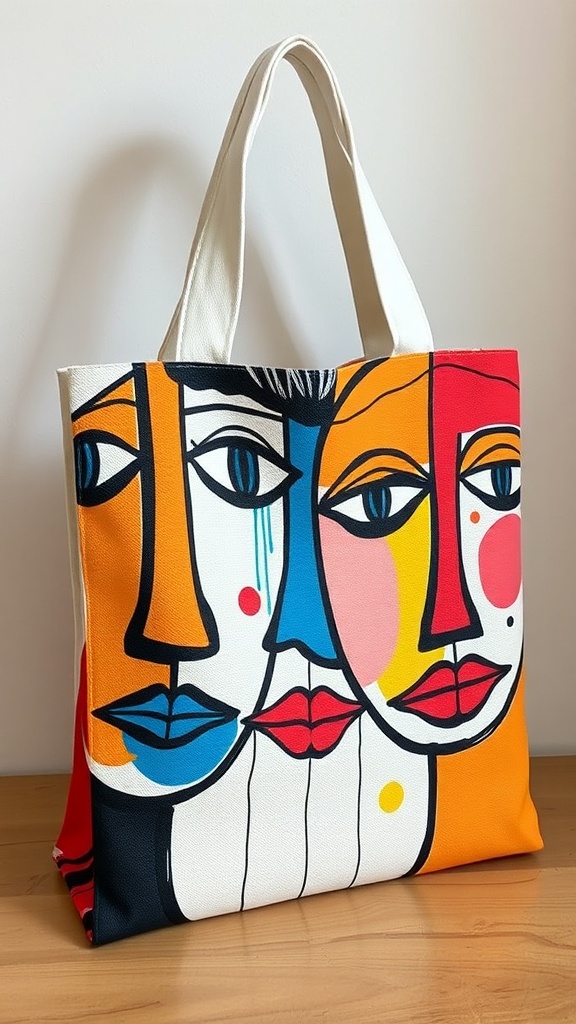
12. Abstract Faces Tote: Channeling Inner Picasso
Inspired by modern art, try painting Picasso-style faces using bold, uneven lines and unexpected color combinations. Each bag feels like a one-of-a-kind gallery piece that sparks conversation wherever you go.
This technique pushed me out of my comfort zone more than any other. I’m naturally drawn to realistic representation, so creating abstract faces required me to let go of traditional proportions and expectations. The first few attempts felt awkward and uncertain, but that’s exactly what made them interesting.
The beauty of abstract faces lies in their interpretation and emotion rather than accuracy. A eye might be represented by a simple circle, a mouth by a curved line, hair by bold strokes of color. The viewer’s brain fills in the gaps, creating a face that’s somehow more expressive than a realistic portrait might be.
I’ve experimented with different styles within the abstract face genre. Some are more geometric, breaking facial features into sharp angles and bold shapes. Others are more fluid, using flowing lines and organic curves. Color choices dramatically affect the mood — bright, happy colors create joyful faces while deeper, more muted tones feel contemplative or mysterious.
The technique is incredibly freeing once you embrace the imperfection. There’s no “wrong” way to paint an abstract face, which makes it perfect for beginners who are intimidated by realistic drawing.
Conclusion: More Than Just Bags
Painting tote bags has become so much more than a craft project for me — it’s become a form of meditation, self-expression, and connection with others. Each bag tells a story, whether it’s the galaxy tote that helped me through a stressful period or the quote tote that reminds me daily to believe in myself.
The beauty of this craft lies in its accessibility and immediate practicality. Unlike some art projects that end up stored away in closets, painted tote bags become part of your daily life. Every trip to the store, every day at work, every casual outing becomes an opportunity to carry a piece of your creativity with you.
What I love most is how painting tote bags has changed the way I see everyday objects. A plain canvas bag is no longer just functional — it’s a blank canvas waiting for transformation. This shift in perspective has made me more creative in other areas of my life, more willing to see potential where others see ordinary.
The process itself is pure joy. It’s simple enough that you can lose yourself in the rhythm of painting, yet engaging enough that time seems to disappear. Whether you’re blending colors for a sunset or carefully plotting polka dots, there’s something deeply satisfying about watching a plain bag transform under your hands.
I encourage everyone to start with whatever technique speaks to them most. Don’t worry about artistic experience or “natural talent.” Some of my favorite totes were created by complete beginners who approached the project with enthusiasm and openness rather than technical skill.
The gifts you’ll create through tote bag painting go beyond the physical bags themselves. You’ll give yourself the gift of creative expression, the satisfaction of making something beautiful and useful, and the joy of carrying your own artwork into the world. And when you give painted totes to others, you’re sharing not just a useful item, but a piece of your creativity and the time you spent thinking of them.
So gather your supplies, choose your first design, and prepare to fall in love with this incredibly rewarding craft. Once you start painting tote bags, it’s impossible to stop at just one. Each bag becomes a new adventure, a new opportunity to experiment and create. And in a world full of mass-produced items, there’s something truly special about carrying something that exists nowhere else in the world — something that came from your imagination and was brought to life by your own hands

